The Curious Case of NSObject.observe
Key-Value Observing is one of the core technologies provided by Apple system frameworks like AppKit and UIKit. As described on the good documentation site:
Key-value observing is a mechanism that allows objects to be notified of changes to specified properties of other objects.
KVO, as it’s abbreviated, is built on top of the Objective-C runtime, and isn’t automatically available to Swift objects, but it’s still common to use KVO from Swift. To that end, Apple provides some Swift-specific APIs to make that easier, as documented at Using Key-Value Observing in Swift:
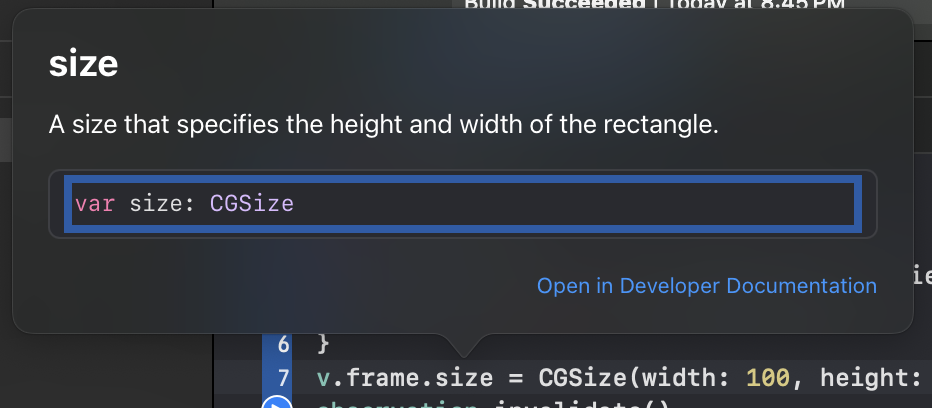
let v = UIView()
let observation = v.observe(\.frame) { view, change in
    print("new frame: \(view.frame)")
}
// Prints `new frame: (0.0, 0.0, 100.0, 100.0)`
v.frame.size = CGSize(width: 100, height: 100)
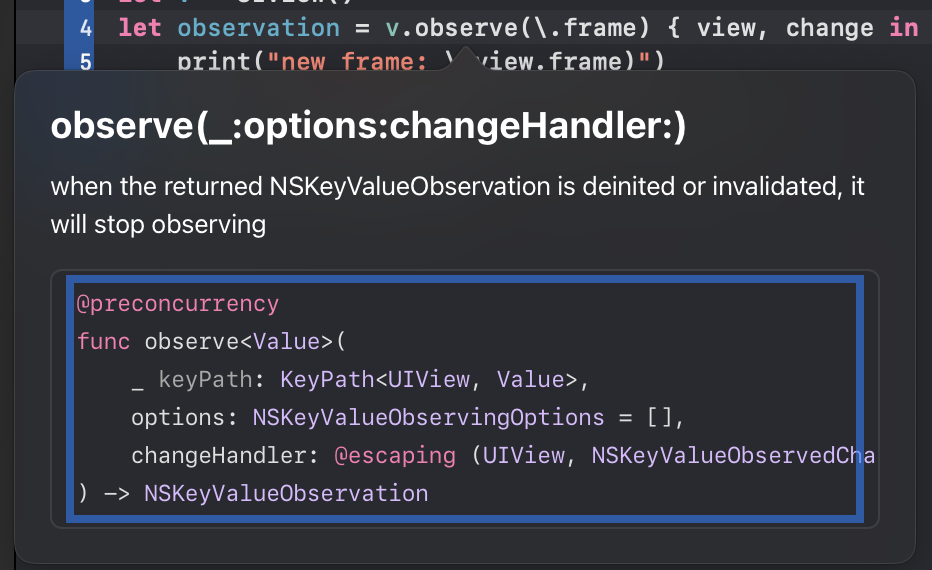
However, Apple’s documentation doesn’t link to API documentation for this observe method. As far as I can tell, none exists. It’s not documented anywhere on the main NSObject definition, nor in the KeyValueObserving protocol definition. In fact, if you option-click for “Quick Help” on the method in Xcode, you’re shown a single-line note about the return value, but no other documentation and notably no “Open in Developer Documentation” link like for other properties.
compared to
Using Xcode’s “Jump to Definition” for this method goes to the top of the generated Foundation definitions for Swift, but the method in question is nowhere to be found.
One of the most peculiar aspects of this method is that it seems at first impossible to implement yourself. Imagine a much simpler method that takes a KeyPath and returns its value:
extension NSObject {
    func get<T>(_ keyPath: KeyPath<Self, T>) -> T {
        return self[keyPath: keyPath]
    }
}
This will not compile; using Self as a generic constraint in a class extension isn’t allowed:
Covariant ‘Self’ or ‘Self?’ can only appear as the type of a property, subscript or method result; did you mean ‘NSObject’?
I’ve noticed this oddity with Realm’s observe(keyPaths:on:_:) method too, which always confused me because it requires an explicit class name on the keypath passed to an instance of that class:
dog.observe(keyPaths: [\Dog.adopted], { changes in
This Swift Forum thread was the magic explanation I was looking for and huge credit to Rob Mayoff for his hugely helpful answer: observe is implemented in a protocol extension, and it appears to be a private protocol, even though the method is public. Why is it implemented as a protocol extension? Rob explains:
that is how you make the
Selfargument to the closure take on the lexical type of the observed object … rather than always beingNSObject.
Rob even links to the Swift Foundation implementation that shows a version of the code, although it was removed in Swift 5.5:
public protocol _KeyValueCodingAndObserving {}
extension NSObject : _KeyValueCodingAndObserving {}

extension _KeyValueCodingAndObserving {

    ///when the returned NSKeyValueObservation is deinited or invalidated, it will stop observing
    public func observe<Value>(
            _ keyPath: KeyPath<Self, Value>,
            options: NSKeyValueObservingOptions = [],
            changeHandler: @escaping (Self, NSKeyValueObservedChange<Value>) -> Void)
        -> NSKeyValueObservation {
This is the key to this technique: the method taking a KeyPath must be defined in a protocol extension, which allows Self to refer to the static type of the instance at the time the method is called. Indeed, by moving over to a protocol extension, my get example works too:
protocol GetWithKeypath { }
extension NSObject: GetWithKeypath { }
extension GetWithKeypath {
    func get<T>(_ keyPath: KeyPath<Self, T>) -> T {
        return self[keyPath: keyPath]
    }
}
Realm could adopt this too, and could benefit from this technique for their “free” Combine support functions as well:
protocol RealmKeypathObserving { }
extension Object: RealmKeypathObserving { }

extension RealmKeypathObserving where Self: Object {
    func _observe(keyPaths: [PartialKeyPath<Self>],
                  on queue: DispatchQueue? = nil,
                  _ block: @escaping (ObjectChange<Self>) -> Void) -> NotificationToken {
        self.observe(keyPaths: keyPaths, on: queue, block)
    }

    func changesetPublisher(keyPaths: [PartialKeyPath<Self>] = []) -> RealmPublishers.ObjectChangeset<Self> {
        RealmSwift.changesetPublisher(self, keyPaths: keyPaths.map(_name(for:)))
    }
}
I’ll be keeping this technique in mind as I build new Swift APIs. It could definitely come in handy for metaprogramming-ish features.